
BrickBreaker 2: Moving the Ball
In order to make the ball appear to move, we need to change its position a little bit in each frame of our game. If we change the ball’s position by a very tiny amount, the ball will appear to move slowly. If we change it more, the ball will appear to move more quickly. So we’ll call the amount we’re changing the ball’s position the velocity of the ball. Since we’re moving the ball in both the x and y directions, we’ll make two variables called velocity_x and velocity_y. Create them before the game loop starts, just after we set the ball’s position.
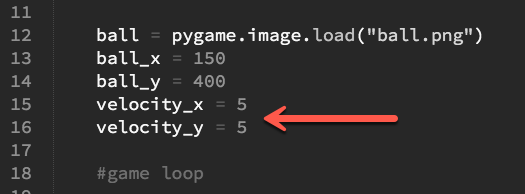
Add two variables to represent the ball’s velocity
Don’t worry if your line numbers aren’t exactly the same as the sample project’s. Adding blank lines can make line numbers move around.
Next, inside the game loop, you’ll change the position of the ball, by adding the ball’s velocity to its position. The code you’re adding here goes inside the section labelled “automatic changes.”
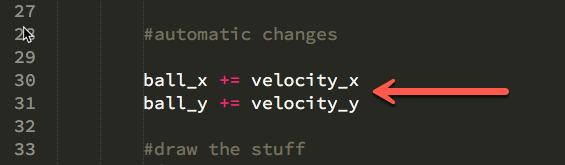
Change the ball’s position in the run loop.
If the “+=” notation is unfamiliar, you can read about it here.
Run the project, and watch the ball move. You can quit any time by clicking on the window and pressing the Q key.